Trout Fishing the Blues Away

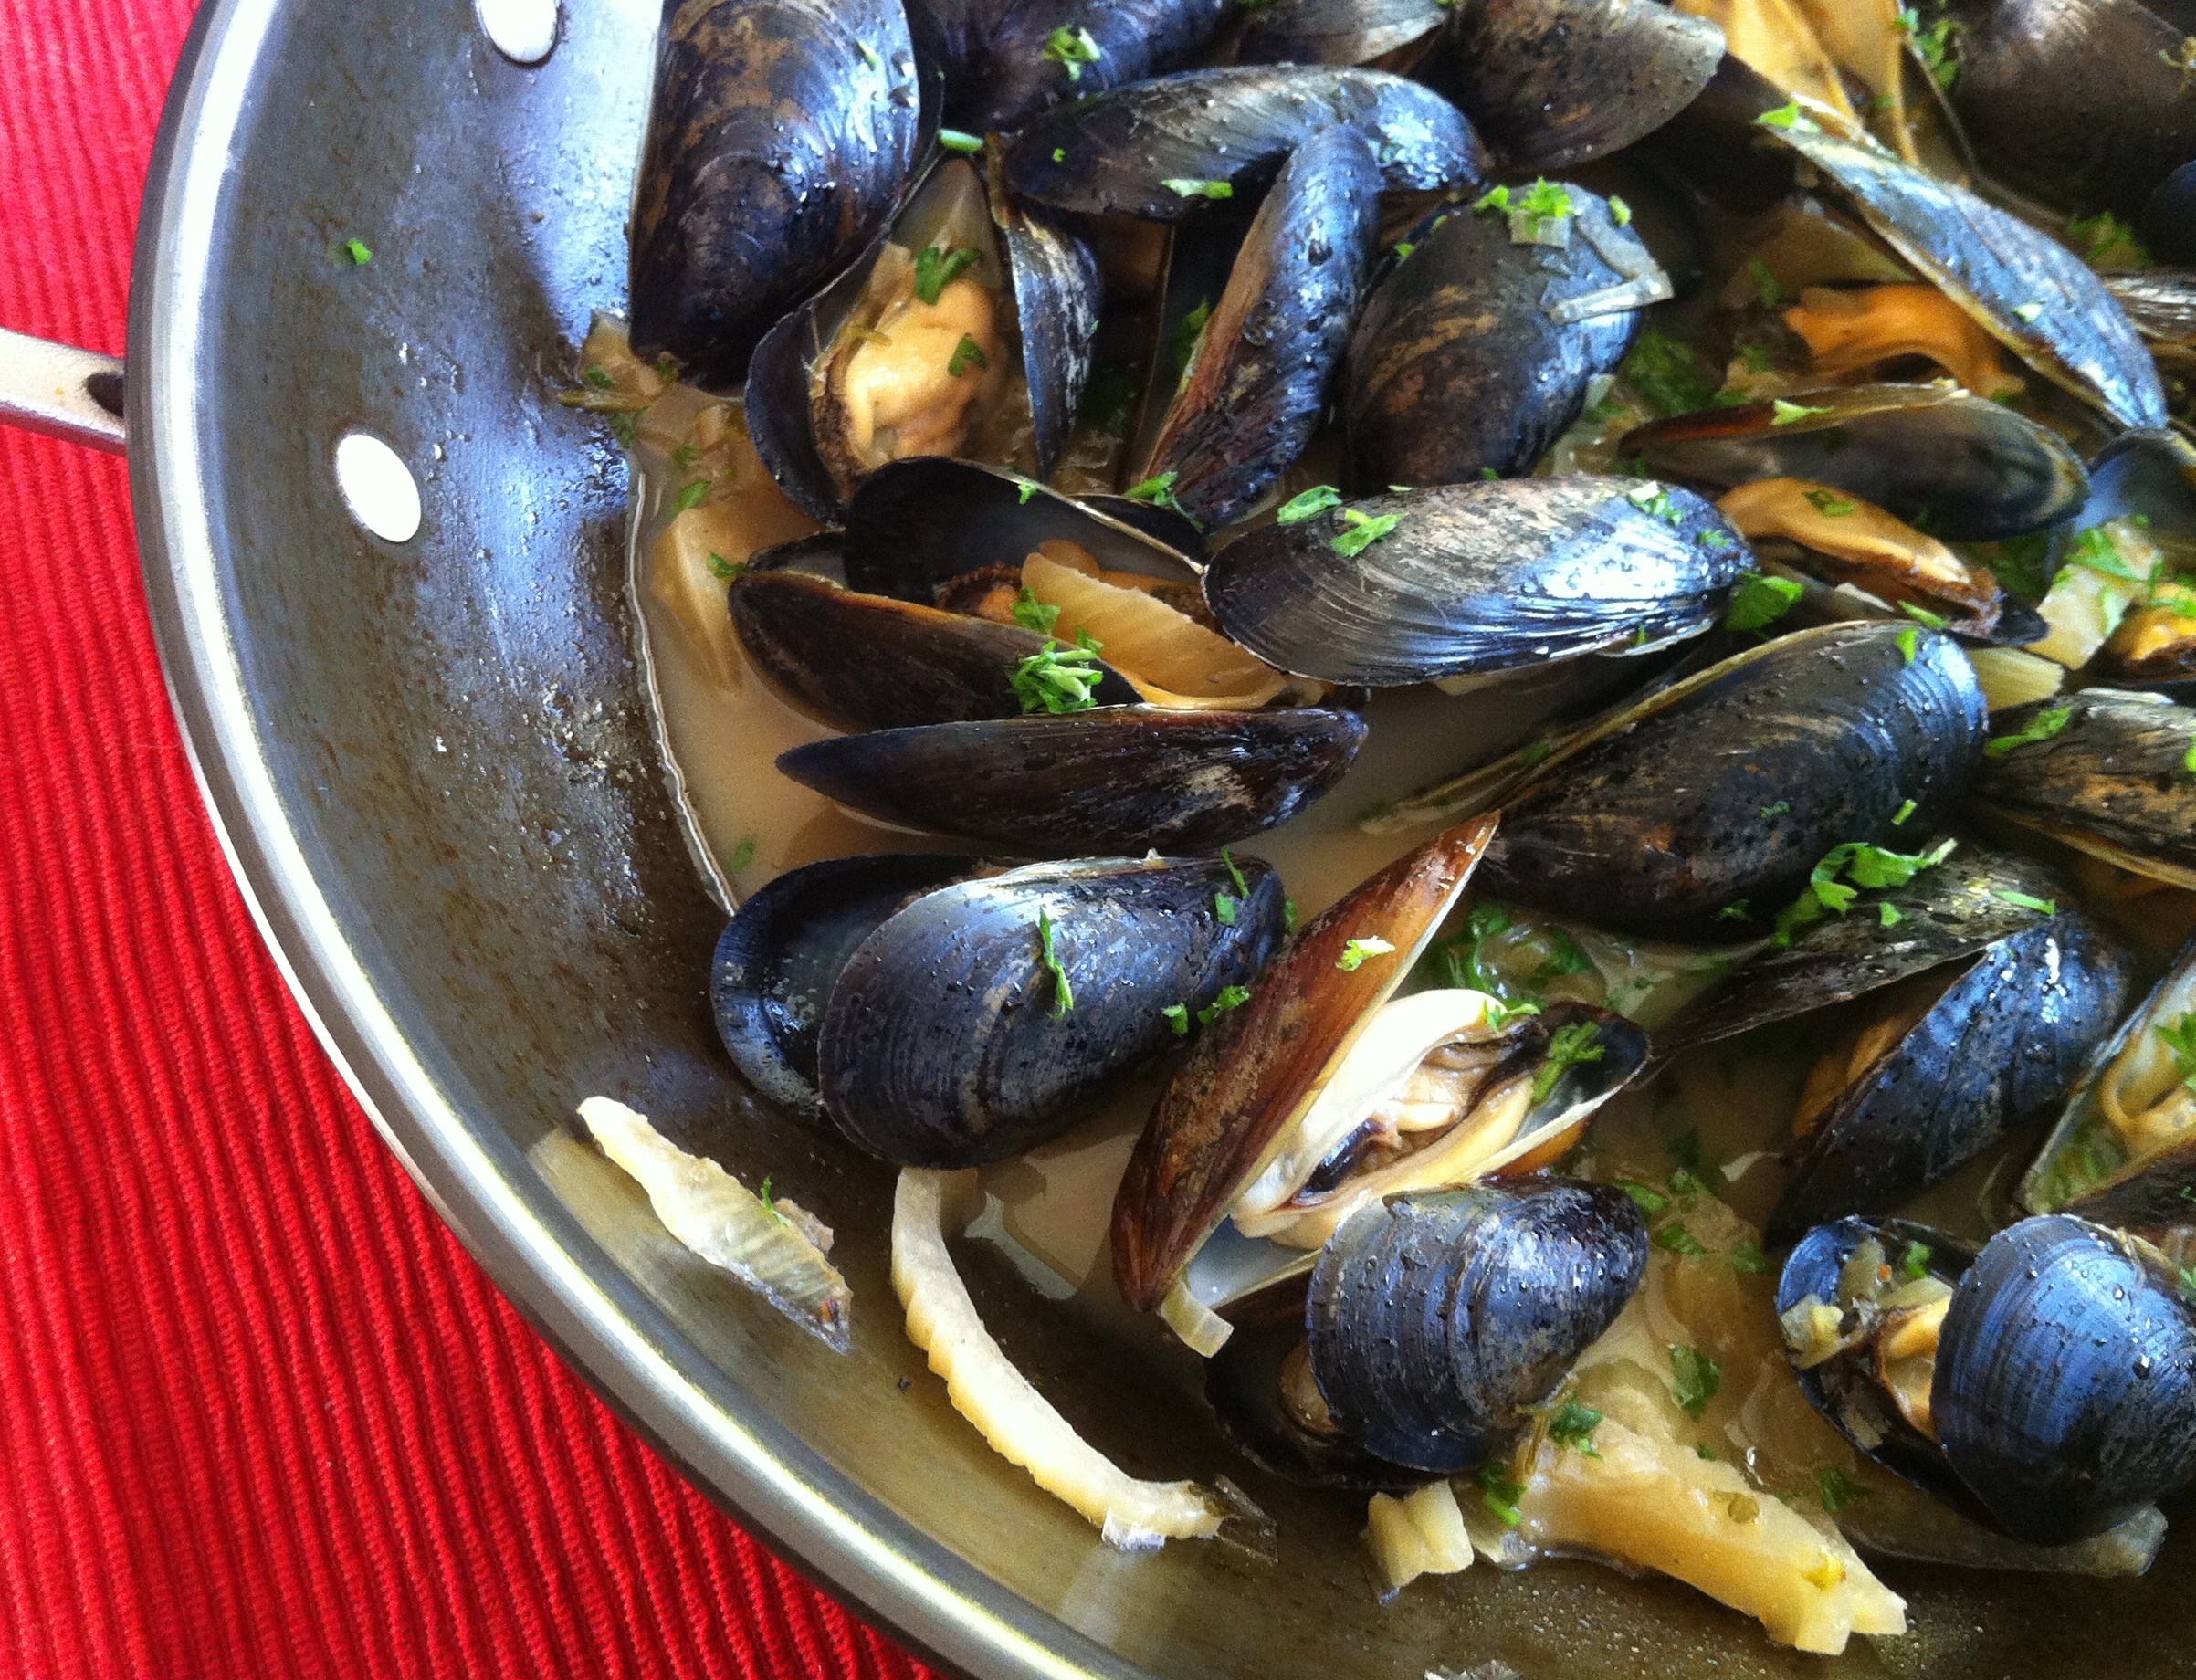
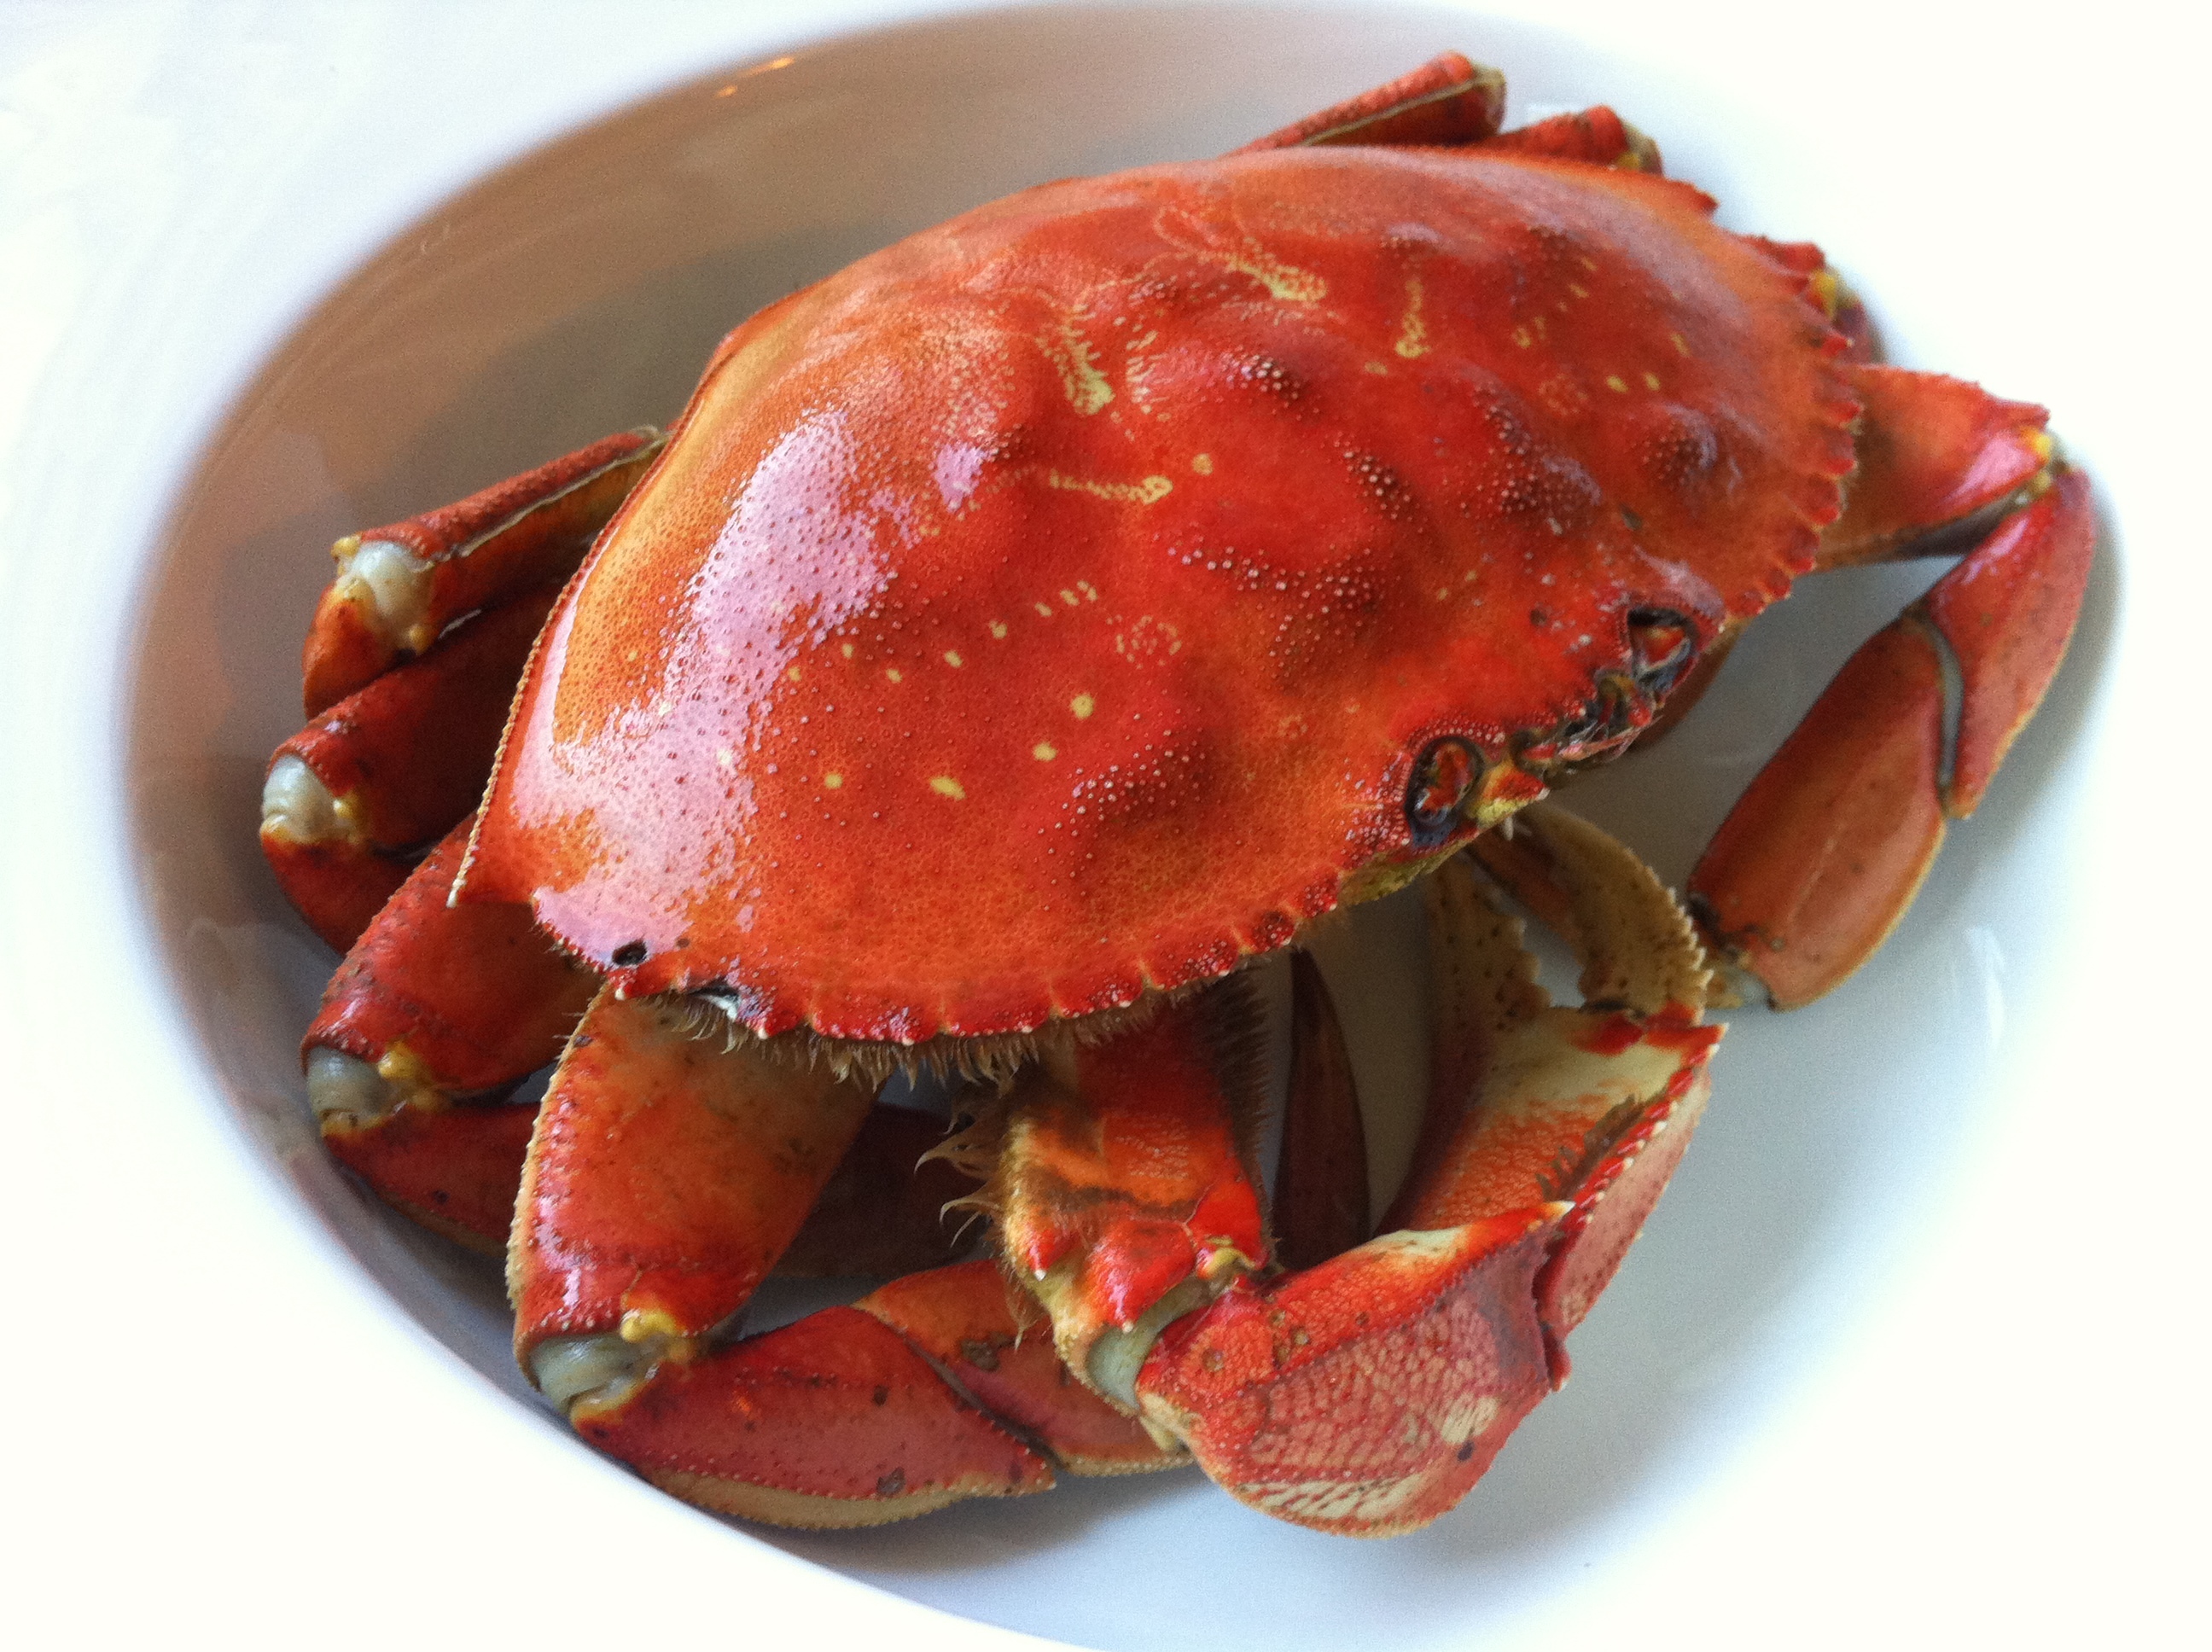
Somehow a month and a half has passed since my last blog post… yikes!  I have no idea how that happened.  Well, that’s not entirely true.  I have been in a bit of a funk lately because things are not going well on the fishing front.  It has been a disappointing crab season and I didn’t really feel like talking (or writing) about it.  It’s a lot easier to talk about good news, but there hasn’t been much of that this season.  Now, as the season draws to a close we are struggling to scrape together a Plan B that will tide us over until the next dungeness crab season.

I suppose that’s just the nature of the industry – ups and downs.  Even long time fishing veterans tell me the roller coaster never ends when you fish for a living.  Everything can seem fine and dandy until a bad season combines with boat troubles and really knocks you on your ass.

But on a brighter note… we went trout fishing with our boys for the first time!

Atticus with his pole

Atticus with his pole


Yes, it was raining on opening day (isn’t it always), but the kids didn’t seem to mind.  They were too excited about catching their first fish!  After much tangled line and flying hooks they stared to get the hang of casting.  The waiting for a fish to bite was quite a bit more difficult for them.  6 and 4 year olds just aren’t know for their patience.  They had to keep reeling in their lines every couple minutes to see if they had anything.  But, by the end of the day we had six trout in our bucket.  The boys were just beside themselves with excitement and pride and I made sure to thank them several times for catching food for us.  They are now officially fishermen, just like their dad – my little providers!

Atticus and Larkyn with their catch

Atticus and Larkyn with their catch


We did the classic trout fry with the trout – dredged them in flour, salt and pepper, then fried them in butter.  Pretty tasty!  We went back out and caught a couple more this weekend.  Not quite enough for a meal, so I’m going to smoke them and make them into a dip.  One of my favorite food blogs, Savory Simple, just posted this recipe for Smoked Trout Dip, which looks amazing and would make two trout go a whole lot farther than if I just fried them up again.  I’m brining the trout right now in a mixture of water, salt, sugar, garlic and pepper.  I’ll let you know how it turns out.

I promise I won’t let another month and a half go by between posts this time – and hopefully next time I’ll have some GOOD news to share!


Belgian Mussels with Ale

Mussels are a shellfish that don’t get nearly enough praise.  Not only are they delicious, they are also incredibly nutritious, affordable, and sustainably farm raised.  With only a handful of ingredients, mussels can go from fridge to table in under 15 minutes.  They are just as high in protein as red meat, but way lower in fat, saturated fat, and calories.  Mussels are loaded with healthy Omega-3 fatty acids, B Vitamins, and essential minerals.  And, I can always find live mussels in the grocery store for four to five dollars per pound (but there are several mussel farms in Washington State, so I’m sure they aren’t as easy to locate in other parts of the country).

File:CornishMussels.JPG

mussels growing wild on a rock

Don’t confuse shellfish farming for fish farming.  Farmed fish (especially salmon) pollute the environment, consume vast quantities of fish meal. threaten wild fish, and contain contaminants.  Farmed shellfish, on the other hand, are incredibly low impact.  Because farmed mussels filter feed from seawater, no fish meal or oils are required to feed them.  Diseases are rare, so no chemicals or drugs are required to treat them.  They are grown almost identically to how they would naturally grow in the wild and this makes them incredibly healthy and environmentally friendly.

But enough about that, lets get down to cooking them!  Cooking mussels is ridiculously easy. They only take a few minutes  and they let you know the minute they are done (they open up).  This is a traditional Belgian recipe using Belgian ale, but honestly, any type of good quality beer would work fine.  The beer really compliments the brininess of the mussels in this recipe, so don’t leave it out!  We bought a big bottle so we could drink what was left with our dinner.

This is the bottle of beer I used for this recipe

This is the bottle of beer I used for this recipe

Belgian Mussels with Ale

  • 3-4 pounds of live mussels
  • 3 TBSP butter
  • 1 medium shallot, chopped
  • 1 bulb of fennel, cored and thinly sliced
  • 1 TBSP fresh thyme, chopped
  • 1 1/4 cup Chimay, or other Belgian ale
  • 1/2 tsp salt
  • ground pepper, to taste
  • 1 TBSP fresh parsley, chopped

Soak the mussels in a large pot or bucket of water for about 20 minutes prior to cooking to purge them of any sand, then rinse them, scrub them, and remove their “beards,” the hairy parts that are sticking out of their shells.  If any mussels are opened at this point, throw them away.  Healthy live mussels will be shut tight.

Melt two tablespoons of butter in a large skillet or stock pot (one that has a lid) over medium heat.  Add shallots, fennel, salt and thyme and saute until soft and translucent (3-5 minutes).  Pour in the ale and bring to a boil.  Add the mussels and cover with the lid.

Cook covered for about 5 minutes, or until mussels begin to open.  Remove the lid and remove any opened mussels with a slotted spoon and place them in a separate bowl.  As every mussel opens, remove it immediately.  After ten minutes, throw away any mussels that haven’t opened.  Add another tablespoon of butter and some pepper to the sauce left in the pan and raise the heat to medium-high, stirring constantly until the liquid is slightly reduced, about 3-5 minutes.  Turn off the heat and stir in the fresh parsley.

Pour the sauce from the pan over the mussels and serve immediately with a loaf of crusty bread.

mussels with ale 2

This recipe serves 4 to 8 people, depending on how many other dishes you are serving

Cheers to this lovely little bivalve for being so healthy and delicious!  It was a huge hit with my family and our dinner guests.

Celebrate the Chinese New Year with Crab

For those of you who aren’t already aware, today (February 10, 2013) is Chinese New Year!

File:Seattle - Chinese New Year 2011 - 71.jpg

Lion dancers in Seattle’s Chinatown, photo by Joe Mabel

Chinese New Year is a very important traditional Chinese holiday honoring deities and ancestors and it  is celebrated with lots of great food like fish and dumplings. Dungeness crab is a Chinese delicacy.  In fact, most of the crab Zed catches on our boat is sold and shipped to China.  On this Chinese New Year I thought it would be appropriate to post a Chinese recipe for Dungeness crab.  (Also, I just love Chinese cuisine!)

This is a simplified recipe for Ginger- Scallion Crab. Traditionally one would start with live crabs, but because it is so much easier to find cooked crab in markets in the United States, my recipe starts with cooked crab.  Make sure you give your crab a sniff before you buy it.  It should smell fresh and sweet, and not fishy or funky!  I always trust my nose when it comes to buying seafood.

Ginger-Scallion Dungeness Crab

  • 2 – whole Dungeness crab, cooked
  • 1 – bunch of scallions (green onions), cut into 2 inch pieces
  • 2 inch piece of fresh ginger, peeled and sliced thinly (about 10-12 rounds)
  • 2 or 3 – cloves of garlic, minced
  • 2 – TBSP vegetable oil
  • 3 – TBSP soy sauce
  • 3 – TBSP rice vinegar (rice wine, or a dry white wine will work too)
  • 1 – TBSP corn starch

Clean your crab and break it into sections.  Separate each leg, and then break each leg into two or three pieces.  This will make it easier to fit everything into your pan, and will also ensure that the flavors of the sauce get into more of the meat.  (You can even crack the larger leg and claw pieces a little with a mallet or crab cracker so that more of the sauce can get in)  If you aren’t sure what to do with a whole crab, you can ask your seafood market/counter to clean it for you. But it is a very simple process, and here is an instructional video on cleaning a Dungeness crab, just to prove it.

In a small bowl mix together the soy sauce, rice vinegar, and cornstarch.  Set aside.

Heat up the oil (medium heat) in a large wok or deep pan.  Add ginger slices, garlic, and scallions.  Stir continuously for 3-5 minutes, or until everything smells delicious and looks softened.  Add the soy sauce mixture and stir, then toss in crab pieces.  Keep stirring, using a large spoon or ladle to constantly spoon the sauce over the crab as it cooks.  The crab is already cooked at this point, but you want to get the crab hot and get as much of the flavor into the meat as possible.  After a few minutes the sauce will be thickened and you can turn off the heat.  Pour the crab and sauce onto a platter and serve!

For a more authentic version of this recipe, visit the blog “Eddy’s Kitchen” and check out his Pan Fried Ginger and Green Onion Dungeness crab, 干炒薑蔥蟹

a cooked dungeness crab, waiting to be cleaned

a cooked dungeness crab, waiting to be cleaned

To usher in the Year of the Snake, I offer this traditional auspicious greeting that I feel is very appropriate for the Blue family this year:

一本萬利Yīběnwànlì – “May a small investment bring ten-thousandfold profits”

Happy Chinese New Year everyone, and welcome Year of the Snake!

The Best Crab Dip You Will Ever Eat!

I’m not joking. This recipe for crab dip is amazing and It has been serving us faithfully for many years now. This is a recipe that Zed has been making since before we started dating.  We made it together while we were dating.  We served it at our wedding.  We still make it for parties.  It is the real deal.

I believe that Zed first got the recipe from his old roommate, who got it from a cookbook called Kachemak Kitchens: A Taste of Homer, which is a compilation of recipes from restaurants and homes in Homer, Alaska. This recipe for Hot Crab and Artichoke Dip comes from Land’s End, a resort and restaurant in Homer. Over the years we have modified the recipe slightly to include more crab and more cheese (can’t go wrong with that).

This crab dip is the perfect appetizer for a holiday gathering and is sure to make you lots of new friends at a potluck.

this is the beauty I made dip out of today

this is the beauty I made dip out of today

For the crab in this recipe you can use any type of crab, but my personal favorite is Dungeness crab. I might be a little biased, but I think dungeness crab has the most flavorful meat of any crab I’ve ever tried. But feel free to use whatever type you have access to.

Hot Crab and Artichoke Dip
16 oz cream cheese, room temperature
1 cup sour cream
1 cup mayonnaise
2 cups Parmesan cheese, shredded + 1/2 cup for topping
1/2 cup onions, finely chopped
2 TBSP garlic, minced
1/4 cup scallions, chopped
1 cup artichoke hearts, roughly chopped
3 cups of crab meat
1 tsp fresh ground pepper
1 tsp Worcestershire sauce
1 tsp Tabasco sauce

Preheat oven to 400 degrees F. Combine cream cheese, mayo, and sour cream in a big bowl and mix until smooth. Add onions, garlic, scallions, pepper, Worcestershire  and Tabasco and mix thoroughly. Add 2 cups of Parmesan cheese, artichoke hearts and crab and stir gently to combine. Pour into a casserole dish, cover with the remaining 1/2 cup of cheese (or enough to lightly cover the surface), and bake until bubbling and golden brown. Serve with sliced baguette.

bubbling and golden... perfect!

bubbling and golden… perfect!

Warning: This crab dip is not very healthy! It is really rich and creamy. I have no idea what the calorie count is, and frankly, I don’t want to know. This is a recipe I only make for special occasions – usually only for holidays – and I am of the philosophy that holidays are a special time when you should eat whatever the hell you want and not feel guilty. So eat this crab dip and enjoy it, dammit!

Ok, if you really want to make this recipe healthier you can substitute some of the ingredients. In place of the cream cheese, use reduced fat cream cheese. In place of the sour cream, use either fat-free Greek yogurt or light sour cream. Use half the amount of mayonnaise and half the amount of Parmesan cheese. It will still be delicious.

For Christmas this year we have a nice relaxing day planned of hanging out with family and friends and eating.  (And hopefully eating this crab dip.)  I love Christmas in our house because we are the only couple with little kids, so our extended families come to us!  That means no stressful holiday traveling and our kids get to wake up in their own house and sneak down stairs to see what Santa brought them.  We basically just enjoy each other’s company and each other’s food all day – basking in the warm glow of our children’s excitement.

What about you?  Does your family have any traditional holiday dishes you can’t live without?

After trying this recipe there is a good chance you’ll want to add it to your annual holiday menu too.  Make this crab dip and wait for the adoration to start pouring in.  Could it have been his crab dip that made me fall in love with Zed all those years ago?  It sure didn’t hurt, I’ll tell you that much!

An Authentic Thanksgiving Dish: Roasted Salmon

I am currently hard at work planning my Thanksgiving day menu and, as usual, trying to fit as much seafood into the day as possible. Swapping out “traditional” fare for seafood is pretty easy for me, considering my proximity to the ocean and my general ambivalence toward turkey. It’s not that I dislike turkey, I’m just not overly fond of the birds. If turkey was on my plate, I would eat it, but I would be much happier if fish was on my plate.

For the main dish this year I’m thinking of serving a large salmon, stuffed and roasted whole. This idea appeals to me partly because I just love salmon, but also because fish was one of the foods served at the first Thanksgiving feast in 1621. Fish was a staple food for both the pilgrims and the Wampanoag tribe. The Wampanoag taught the pilgrims to catch fish, grow crops (pretty much saved their asses) and joined them in their first Thanksgiving feast.

File:Edouard Manet 068.jpg

Still life with salmon, a painting by Edouard Manet

I don’t plan on having an entire historically authentic Thanksgiving meal, but I was curious what that might look like. After doing a little research I discovered that the only foods we know for sure were at that first Thanksgiving feast between the Wampanoags and the Pilgrims were deer (five of them to be exact) and fowl (most likely waterfowl like duck, geese, or swans, but possibly wild turkey). It is most likely that seafood (fish, eel, lobster, shellfish, etc..) was served because it was such an important part of everyone’s diet at that time.

Pilgrims (I’ve read) often stuffed whole fish with onions and herbs – a great and timeless combination – but I wanted to take the recipe a little farther.

If you wish to roast a salmon for Thanksgiving this year, seek out the biggest wild fish you can find. An eight pound fish will serve around twelve people. If you can find a fish with the head and tail on – wonderful! Often the head has been removed from the fish before it reaches your grocery store, and that is just fine.

Roasted Whole Salmon

  • A large whole salmon, rinsed and patted dry
  • 1 large onion, sliced into 1/4 inch thick rounds
  • 2 lemons, sliced into 1/4 inch thick rounds
  • Bunches of fresh herbs such as dill, parsley, fennel, or basil
  • 3 TBSP butter
  • 2 TBSP lemon juice
  • Salt and pepper
  • 1/2 cup white wine

1. Preheat oven to 450°F. Place a sheet of parchment paper or cheese cloth in the bottom of a large roasting pan or sheet pan and place the fish on top. Cut three shallow diagonal slits in the skin of the salmon on both sides. Season the salmon generously with salt and pepper inside its cavity.

2. Stuff as much of the onion, lemon, and herbs (leave them in sprigs or chop them up) into the cavity of the fish as you can. Measure the thickness of the stuffed salmon with a ruler.

3. In a saucepan, melt the butter and add the lemon juice. Baste the outside of the salmon withe the butter-lemon mixture and place on the middle rack of the oven. For every inch of thickness, bake for 10 minutes (for example, if the fish is three inches thick, bake for around 30 min). Click here to read more about this technique. Baste the fish thoroughly every 10 minutes with the butter-lemon. Test the flesh every 10 minutes as well, and take the fish out of the oven when the flesh flakes apart with a fork. If the tail or head are looking too brown or are getting dried out, cover them lightly with aluminum foil.

4. After pulling the pan out of the oven, pour the white wine into the pan to help loosen the fish from the paper or cheese cloth. Carefully slide the fish onto a platter to serve.

If you would like to cook a side dish at the same time – and save room in your oven – roast your salmon on top of a bed of vegetables. Green beans, squash, or potatoes would all work well if you cut them into smaller pieces so they cook quickly. Just toss your veggies in olive oil, lay them in a single layer in you roasting pan, and sprinkle with salt before laying your fish on top of them. You might need to add a few more minutes to your cooking time.

Maybe it’s just me, but I love the idea of presenting a whole fish with the head and tail on. It seems very appropriate for a feast, and a good reminder to be thankful for the bounty that our oceans, rivers and lakes provide. May we keep our waters clean and healthy so they continue to feed us for ever and ever!

The Foolproof Fish Trick

“There’s a trick to cooking fish that few people see to know about.  Maybe that is why fish isn’t as popular in this country as it deserves to be – it is usually so badly cooked”.  – James Beard

This tip for cooking fish comes from the “Dean of American Cooking”, James Beard, one of the most influential chefs this country has ever seen.

What I am providing here, courtesy of James Beard, is a simple tip for determining the precise amount of time to cook a fillet of fish in order to prevent overcooking.  Overcooking is, by far, the most common crime against fish because it happens so easily.  And it is such a tragedy when a beautiful fresh piece of fish is converted into a dry hard chunk that fights its way down your throat.

Not that I am completely innocent of this crime.  I have overcooked more fish than I care to admit.  I only really started cooking fish when I began dating a fisherman (now my husband) and it took me years before I realized just how quickly fish cooks.  After one too many fish was forgotten in the oven until it was a barely edible mass, I overcompensated by hovering over the oven, checking the flesh with a fork every couple of minutes to test if it flaked apart yet.  If only I had known about this trick years ago, I would have saved myself from countless dried out fish and hours of my time.

The trick is: measure the thickness of your fish and cook it at 450°F for ten minutes for every inch of thickness.

That’s it!  This rule works for any type of fish, any size, whether it is filleted, whole, stuffed, or breaded.

  • Preheat your oven to 450° F
  • Line a baking sheet with foil or butter a baking dish and lay down your room temperature fish
  • Measure the thickness of the fish at its thickest section
  • Season your fish however you like (salt, pepper, lemon, and butter work for any fish)
  • Pop your fish in the oven and set your timer for 10 minutes for every inch of thickness

Something you might want to consider: if your fish is significantly thicker in one section than another, make a compromise and use a measurement halfway between the thickest and thinnest sections.  For example, if the thickest part of the fish is two inches and the thinnest part is one inch, use the measurement of 1.5 inches and cook it for 15 minutes.  Also, you can cook your fish from a frozen state, just cook it for twenty minutes for every inch of thickness instead of ten minutes.  And if you want to seal your fish in a foil “envelope”, just add 5 minutes to the total cooking time.  

my fillet of sockeye salmon from Bristol Bay

I tested this out myself with a fillet of sockeye salmon that I pulled out of my freezer the other night.  I thawed out the salmon, laid it on a foil lined baking sheet and measured its thickness.

Why does my hand look so wrinkly?

I drizzled it with lemon juice and generously salted and peppered it before placing a few pats of butter on top.  After my ridiculously old oven took forever getting up to 450° I placed my baking sheet on the middle rack and set my timer.  Because my salmon measured just a tad over one inch, I set the timer for 11 minutes.  I backed away from the oven and resisted the urge to open the oven door and poke it with a fork.  I wanted to make sure I was doing an accurate test of this fish formula so I didn’t open the oven door until my timer rang at 11 minutes.  I immediately pulled the salmon out and let it cool on the counter for about 10 minutes before cutting into it.

Success!  I am happy to report that the salmon was perfectly done – barely cooked all the way through, and still moist and soft.

Testimony to my success. If only you could taste it too.

As you can see from the photo above, the flesh flakes apart but is still semi-transparent and deep pink in color.  When salmon is overcooked the color of the flesh changes to an opaque, light pink.

In case you can’t tell, I’m really excited about my discovery here!  I’m excited that I won’t have to guess and worry over baking fish anymore, and I’m excited to share this tip with my readers.  As a fisherman’s wife, I get asked all the time for advice on cooking fish.  It seems that many people in my part of the country feel uncertain about it and I really do believe that most people would buy fish more often if they felt confident in their ability to prepare it.

Hopefully this post will encourage a few people to pick up a fish from their market and test out the “ten minute per inch tip” themselves (or maybe you already know this trick?).  Any readers that try it, please report back to me on your results!  I would love to hear how different types of fish turn out in different ovens.  Just remember, 10 minutes at 450° for every inch of thickness.  Happy cooking!

The Kids Caught Crawfish for Dinner

the signal crayfish, photo by David Perez

Did you know that crawfish (aka crayfish aka crawdads) live pretty much everywhere in the world? And they are not onIy edible but delicious? I didn’t until last year when some friends turned us onto crawfish trapping. I knew we had them in our lakes and rivers here in the Pacific Northwest, and I knew that crawfish are a big part of Southern cuisine, but for some reason I had never thought to catch and eat them here (seems obvious now!).

So last summer we bought three crawfish traps at our local fishing supply store and headed to a nearby lake to try our luck. We got some fish scraps from the grocery store seafood counter to use as bait and tossed out our traps off the public dock. Within a few minutes we pulled up the trap and we had crawfish! We put them in a bucket and threw the trap back in. We repeated this several times over the course of an hour or two and went home with a decent amount of the critters ( I like to call them “mini lobsters”). We have now tried out several lakes and creeks in the area and we can report that every single one of them is populated with crawfish.

It is so much fun! We let the kids throw the traps out wherever they want and they are just beside themselves with excitement every time they pull them in to check on them. I’m pretty sure they would be happy doing it all day long. I like watching their decision making process when deciding on a location to set their traps and I love how proud they are of themselves when they dump their catch into the bucket to take home.  When we eat the crawfish we always thank the kids for catching dinner for us.

If you live near a lake or river, or even a small stream, there is a good chance that it is populated with these freshwater crustaceans.  Crawfish live in bodies of freshwater all over the world, from South America to Madagascar to Japan to Australia to Europe.  There are big annual crawfish festivals in Scandinavia and Tasmania has a species of crawfish that grows up to 11 pounds!

Our crawfish traps look like two wire mesh wastepaper baskets with their open ends clipped together, and with a funnel at either end for the crawfish to climb into.  Most sporting goods stores, like Cabela’s or Sportsman’s Warehouse, will carry some type of crawfish trap, and they can be ordered online as well for as little as $10-$15.

Atticus last summer with a sample of his catch

There are quite a few different ways to prepare crawfish, with the simplest being just steaming them for a few minutes until they are bright red, and dipping the tail and claw meat in melted butter. We usually don’t catch enough crawfish in one day to feed a group of people, so our favorite way to prepare them is to do a Louisiana style crawfish boil, which is where you boil them in a big pot with potatoes, corn on the cob, sausage, and seasonings. This way the crawfish add flavor to the rest of the pot and there is plenty of food for everyone.

Crawfish live in the mud so they tend to be pretty dirty. Put them in a bucket or cooler and cover them with water. Swish the water around and dump it out. Repeat until the water looks clean.

Atticus removes a crawfish from his shirt

Larkyn is really excited about his full pot

Louisiana Style Crawfish Boil

Fill up a large pot a little more than halfway full with water and bring to a boil. Add seasonings. We like to use Zatarain’s Crawfish, Crab and Shrimp Boil, which comes in either a bag or a concentrated liquid (for a large pot Old Bay Seasoning works well too (add most of a tin).  Add a couple tablespoons, up to 1/4 cup of salt for a very large pot.  Toss in a quartered lemon and a quartered onion.  Some optional seasonings are 12 ounces of beer and/or a 1/4 of hot sauce and/or a handful of garlic cloves.  Add about a  pound or two of small potatoes, 4-6 ears of corn (halved), and a pound of sausage (preferably andouille).  Let this all boil for about 10 minutes, then add the crawfish and boil for an additional 3 minutes.  Turn the heat off, put the lid on the pot, and let it sit for about 10 more minutes.  Drain the water off and serve.  The traditional method of serving a crawfish boil is to dump everything onto a newspaper-covered table and let everyone gather around and dig in!

File:Dish of crawdads.jpg


The correct way to eat a crawfish is to rip off its head and suck out the juices, then pull the tail meat out of the shell and eat it.  The claw meat is delicious too!

This recipe is very flexible and forgiving, so feel free to add or subtract ingredients based on what you have at hand.  If you would like more detailed instruction than what my recipe provides, check out this video.  The technique and recipe are a little different from mine, but you get the idea…

<iframe width=”560″ height=”315″ src=”http://www.youtube.com/embed/w6xAtSJthX0&#8243; frameborder=”0″ allowfullscreen>

And here is a Crawfish boil recipe from Alton Brown of the Food Network.

If you have don’t have crawfish locally, or you aren’t interested in trapping them, you can order live crawfish from the Louisiana Crawfish Company or the Cajun Grocer.

But I highly recommend trying crawfish trapping, especially if you have kids.  It is a great way to spend a lazy afternoon on the water and you come home with free seafood!  Can I still call them seafood even though they don’t come from the sea?

Shrimp Dinner, Fresh off the Boat

One of the (many) benefits of living where I do, in the Pacific Northwest, is my proximity to water.  More specifically, my proximity to Bellingham Bay and all of the fresh seafood that flows in on local fishing boats every day.

Squalicum Harbor from the walking path that circles the park

Bellingham has a very active fishing community which means that I have access to all types of seafood all year-long.  There are fish markets in town, which are great, but even greater are the boats that sell their catch directly off the docks in the harbor.  It is a great feeling buying seafood directly from the fishermen that caught it – knowing you are supporting them and their families, supporting the local economy, and getting a quality fresh product at the same time.

A mix of fishing boats and pleasure boats in Bellingham’s Squalicum Harbor

The ability to buy seafood directly from fisherman is a luxury that I realize not everyone has access to, and sadly, a luxury that I don’t take advantage of nearly enough.  So, during a family kite flying outing at the harbor yesterday we spotted a sandwich board advertising fresh shrimp and decided to take a little detour.

My boy Larkyn, walking the docks

This couple had live coonstripe shrimp that they had just caught out in the Puget Sound and were selling right off their small fishing boat for a very reasonable price – we bought 5 pounds of shrimp for $20.

weighing the shrimp

boxing them up

The shrimp were live alright – they kept jumping and popping out as the guy was trying to get them in the box.  Doesn’t get much fresher than that!

2.5 pounds of coonstripe shrimp on ice

I did a mental inventory of my fridge and garden and brainstormed possible meals I could put together with what I had at hand.  I knew I had lemon in the fridge and parsley in the garden, which immediately seemed like a logical first step toward a classic shrimp preparation: lemon, garlic, white wine and parsley.  After a quick stop at the grocery store for some white wine and garlic, I was ready to cook dinner!  Before I started with the shrimp I set a large pot of water to boil, so that the pasta could cook at the same time as the shrimp. The shrimp cook so quickly that the pasta and shrimp should be done at about the same time.

In a large skillet I heated about 1/4 cup olive oil over medium heat.  I minced quite a few cloves of garlic, probably 1/4 – 1/2 cup, and tossed them in the hot oil, along with a sprinkling of crushed red chili pepper (I like it a little spicy, but it’s not necessary).  When the garlic was starting to brown I dumped the box of shrimp in (about 2.5 pounds), then poured about a cup of white wine over the shrimp, and put the lid on the skillet.  Cooking the shrimp whole, heads and all, is the best way to do it because the heads and shells add quite a bit of flavor to the meat and sauce as they are cooking.  I let the shrimp steam in the pan for a few minutes, giving them a stir every minute or so to coat them in the sauce at the bottom of the pan.  After the shrimp looked about done, pink, opaque, and curled up, I turned the heat off and added 3-4 tablespoons of butter, squeezed a lemon over the top, and sprinkled it with salt.

a pan full of steaming garlicky shrimp

When I drained the pasta I saved about 1/4 to 1/2 cup of the pasta water and added it to the shrimp to help thicken up the sauce.  After a quick stir I spooned out some shrimp (and the sauce at the bottom of the pan) and poured them over a plate of cooked pasta.  I topped the pasta with grated parmesan cheese and chopped parsley.  A little more salt and a grinding of pepper and voila!

the finished product!

This is a really simple dish to make – the most time-consuming part of the process is chopping all the garlic.  I fully intended to peel all my shrimp first, so I could just eat the peeled shrimp with the pasta, but every time I finished peeling one it ended up in my mouth instead of on my plate… oh well.  Peeling the shrimp as you eat slows everything down a little and makes everyone take their time and enjoy the meal.

Do you have a shrimp eating style?  Do you peel as you go, or peel all the shrimp first so you can eat them all at once?

Simple Seafood Pasta Formula

Okay, maybe “formula” sounds a little scientific, but this isn’t really a recipe so much as a guide.  I am not going to give any specific measurements or necessary ingredients, but I promise it will be as simple as the title claims!  I really like making pasta dishes that have the protein and vegetable all mixed in – a whole meal in one bowl – and with the weather getting warmer I am craving more simple fresh dishes and less heavy comfort foods.  Also, I have two little kids and a husband that’s always gone, so I don’t often have time to prepare elaborate meals, or have anyone other than myself to appreciate them.  A meal like this can easily be completed in under 30 minutes and everyone is happy.  Simple is the key to my survival as a “single” fisherman’s wife!

The most important part of this meal is the seafood.  The seafood is the foundation for everything else, so if you choose a quality fish, shellfish, or crustacean, the rest of the meal will fall into place.  You can pick any type of seafood for this dish: salmon, smoked salmon, shrimp, scallops, clams, crab, lobster, but these are only suggestions.  To keep my promise of a simple meal, I suggest using a seafood that requires minimal preparation.  You can grill a filet of fish and cut it into pieces, but it will probably be easier to just throw some shrimp or scallops in a pan with some butter or oil, steam some clams until they open, or chop up some smoked salmon.

The beauty of quality seafood is that the less you fuss with it, the better.  It would be a shame to cover up the fresh and subtle complexities of your seafood with a bold sauce or heavy seasonings.  The Italians are the masters of letting quality ingredients shine through simple preparations and it works for me too!

This is a dish I made recently with brown rice pasta, smoked salmon, zucchini, chives, and Parmesan.

Seafood Pasta Formula : Seafood + Pasta + Vegetable + Herb + Cheese = Awesome

1. Seafood: about one pound.  Make sure frozen seafood is thawed out.  If you are using…

  • shrimp, toss them in a pan with butter and a little salt until pink all over.
  • scallops, sprinkle with salt and sear in pan until golden.
  • clams, place in a pan on the stove top, add some liquid like water or wine, put a lid on and steam until they open.  Or go super-simple and open a can:)
  • smoked salmon, just needs to be cut into bite sized pieces.  If you are on a budget or don’t have access to fresh/frozen seafood, you could easily use canned salmon.

2. Pasta: any kind will do!  Cook about one pound in boiling salted water until it is al dente.  Drain it (saving 1/2 a cup of the pasta water) and toss it with olive oil.

3. Vegetable: at least one pound.  Use your favorite vegetable(s), or do what I do and use up whatever I have in my fridge.  Some good options are broccoli, zucchini, cherry tomatoes, swiss chard, onions, snap peas, or asparagus.  Use one type of veggie or use several, it doesn’t matter.  Chop it up into bite size and saute in some butter or olive oil until softened and slightly browned, but not mushy.  Tomatoes can be added raw if you prefer.

4. Fresh Herbs: It is best if the herbs are fresh not dried, but in a pinch, dried will do.  Some good ones are parsley, basil, chives, mint or dill.  It is best to choose just one.  Chop or tear it into small bits.

5. Cheese (optional): sprinkle some grated Parmesan (or other aged cheese), crumbled feta, or goat cheese on top.

Instructions:  Toss together your cooked seafood, pasta, sauteed veggies, and chopped herbs.  Add the reserved pasta water and drizzle with a little olive oil.  Stir gently and if the pasta seems too dry, add a little more olive oil.  Season with salt and pepper.  Sprinkle with cheese.  Eat.

Optional additions: If you feel so inclined, you could also add…

  • crushed red pepper, to taste
  • garlic, saute a couple minced cloves with your vegetables
  • lemon juice, one or two tablespoons adds a fresh kick, and add the zest for even more zing

I know I gave you a lot of options there, so I hope that wasn’t intimidating.  I know some people prefer to follow an exact recipe, but my cooking style is a lot more spontaneous.  Plus, I think it is hard to go wrong with this formula.

Want some more help?  My favorite combinations are:

  • Clams+ Tomatoes+Parsley+Parmesan+Garlic (a splash of white wine really completes this dish)
  • Shrimp or salmon+Asparagus+Goat cheese (chevre)+Dill
  • Shrimp+Peas+Feta cheese+Mint

Want a recipe?  Martha can help.  Here is a great simple seafood pasta recipe…  with a video to illustrate…

Or check out Martha’s archive of seafood recipes and cooking tips.

If you have a favorite easy seafood pasta recipe, please share it!

Crab Spaghetti: Drowning my Sorrows with Food

Ok, I didn’t want to post anything until I actually had some good news to report, but I just realized it’s been a long time since my last post and I don’t want people to think I gave up on the blog.  So I’m posting an update with no good news.  Delays, delays, delays, and our boat is still in shipyard.  Frustrating, but I really think (fingers crossed) that it is almost done… for real this time… I swear.    The boat was sandblasted and primed before the clouds rolled in, so we are waiting for some sunshine and a fresh coat of cobalt blue paint.

Here she is, waiting for her makeover. Come on sunshine!!!

I really don’t want to talk about the boat or the crab season we are missing out on right now, so instead I’m going to post a crab recipe.  Because, how do I distract myself from unpleasant realities?  I eat!

This is a fairly simple recipe for a red spaghetti sauce, but with the addition of crab meat.  Delicious, trust me!

Crab Spaghetti

1/4 cup olive oil

1 medium sized onion, finely chopped

6 cloves of garlic, chopped

3/4 tsp crushed red chile flakes

2 tsp dried basil, or about 8 leaves of fresh basil, chopped

1 tsp dried oregano (or parsley)

1 tsp celery seeds (you can use celery salt if that’s all you have)

1/4 cup half and half

2 – 28 ounce cans of whole peeled tomatoes, undrained

1 pound spaghetti noodles

1 to 2  pounds cooked and cleaned crab meat

salt and pepper, to taste

Heat olive oil in a large pan over medium low heat, add onion, garlic, celery seeds, basil, oregano, and chile flakes.  Stir and cook until onions are soft and translucent, around 10 minutes.  Pour into a blender and add tomatoes (with the juice from the can) and half and half.  Puree until almost smooth (I like mine a little chunky still), then pour back into pan and continue cooking over medium heat for another 30-35 minutes.  Throw the crab meat in and cook for a couple more minutes, until the crab is heated through.  Add salt and pepper to taste.

While the sauce is simmering, bring a large pot of salted water to a boil and add spaghetti noodles.  Cook noddles until al dente and drain.

Toss the noodles with the sauce and serve garnished with fresh chopped basil or parsley.

This is based on a recipe from Saveur magazine.  Here is the original recipe.

I wish I had photos to post of this delicious dish, but all it really looks like is spaghetti with red sauce.  It tastes WAY better than it looks.  You will just have to try it out and see for yourself.  If you live on the West coast, find yourself some fresh dungeness crab.

If you need a lesson on cleaning dungeness crab, watch this video from the F/V Refuge out of Newport, Oregon.

Enjoy!